How to Upload a File to the Media Library in WordPress
WordPress provides an intuitive user interface to upload files to the Media Library.
Background
WordPress creates a new attachment each time we upload a file to the Media Library. The attachment contains metadata about the file, such as title, file name, file size, etc. Attachments are instances of the 'attachment' built-in post type.
Steps
Follow these steps to upload a file to the Media Library in WordPress.
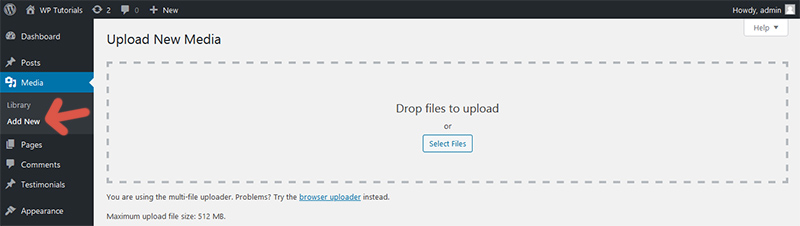
Step 1: Navigate to Media > Add New.
Step 2: Drop files into the upload zone, or click the Select Files button to choose files from your device.
Step 3: Wait until each upload operation completes.
Storage
WordPress stores media files in the wp-content/uploads folder by default. Metadata about each file is stored in the tables wp_posts and wp_postmeta.
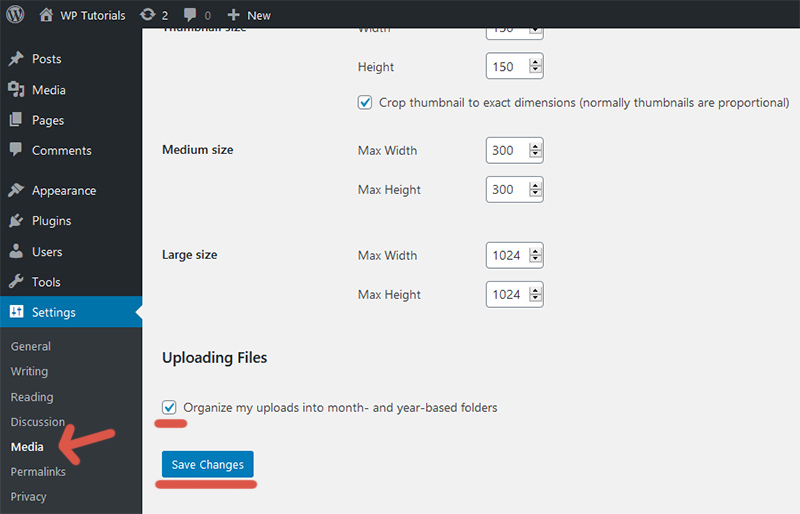
To organize the uploads folder into year and month subfolders, navigate to Settings > Media, enable the checkbox highlighted in the image below, and click Save Changes.
Further reading
I recommend the other tutorials in this series to learn more about managing attachments in WordPress.
- How to Upload a File to the Media Library in WordPress
- How to Edit an Attachment in WordPress
- How to Replace an Attachment in WordPress
- How to Delete an Attachment in WordPress

Comments